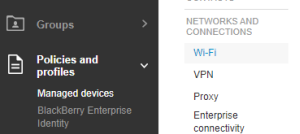
1. Open the Wi-Fi profile page
Click Policies and Profiles > Networks and Connections > Wi-Fi.

2. Add a Wi-Fi profile
Click the + icon.
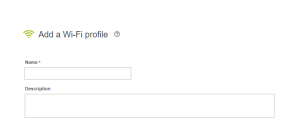
3. Type a name and description
Users will be able to see this information about the Wi-Fi profile on their devices.
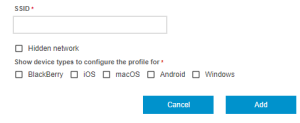
4. Add a Wi-Fi network
In the SSID field, type the name of the Wi-Fi network that you want users to connect to.
Tip: If the Wi-Fi network hides the SSID, click the Hidden Network check box.

5. Select supported device types
Choose the device types that you want the profile to support.
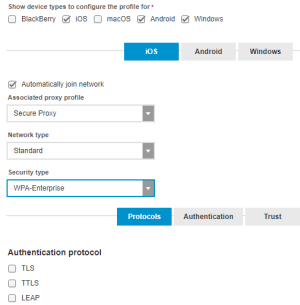
6. Set up the profile
Set up the profile based on your organization's needs. For example:
- Choose a security type for the Wi-Fi network, for example, WPA-Enterprise
- Specify the primary and secondary DNS
- Associate a proxy profile
Tip: For an explanation of each profile setting, see Wi-Fi profile settings.

7. Click Add
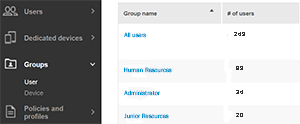
8. Choose a user or group
Go to a user or device group.
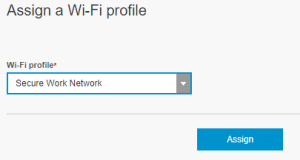
9. Assign the Wi-Fi profile
In the profiles table, click + > Wi-Fi. Click the profile you created and click Assign.

10. That's it!
You have successfully created a Wi-Fi profile!
To learn more about UEM Wi-Fi profiles, see Setting up work Wi-Fi networks for devices.