Enable the indoor fire panel device
After you have configured the Indoor Fire Panel gateway, configure the associated device.
- In the navigation bar, click
 .
. - In theDevicessection, clickDevices.
- On theDevicespage, click theMass Devicestab.
- ClickIndoor Fire Panel.
- On theIndoor Fire Panelpage, clickEdit.
- Optionally, in theDetailssection, update theNameandCommon Namefields.
- Optionally, select a value from theDevice Group Ordermenu.
- Optionally, select a value from theContact Info Editmenu. The available options areAll,End Users,Operators, orNone.
- Optionally, in theHelp Textsection, update theTargeting Help Text,Contact Info Help Text, andContact Info Tool Tipfields.
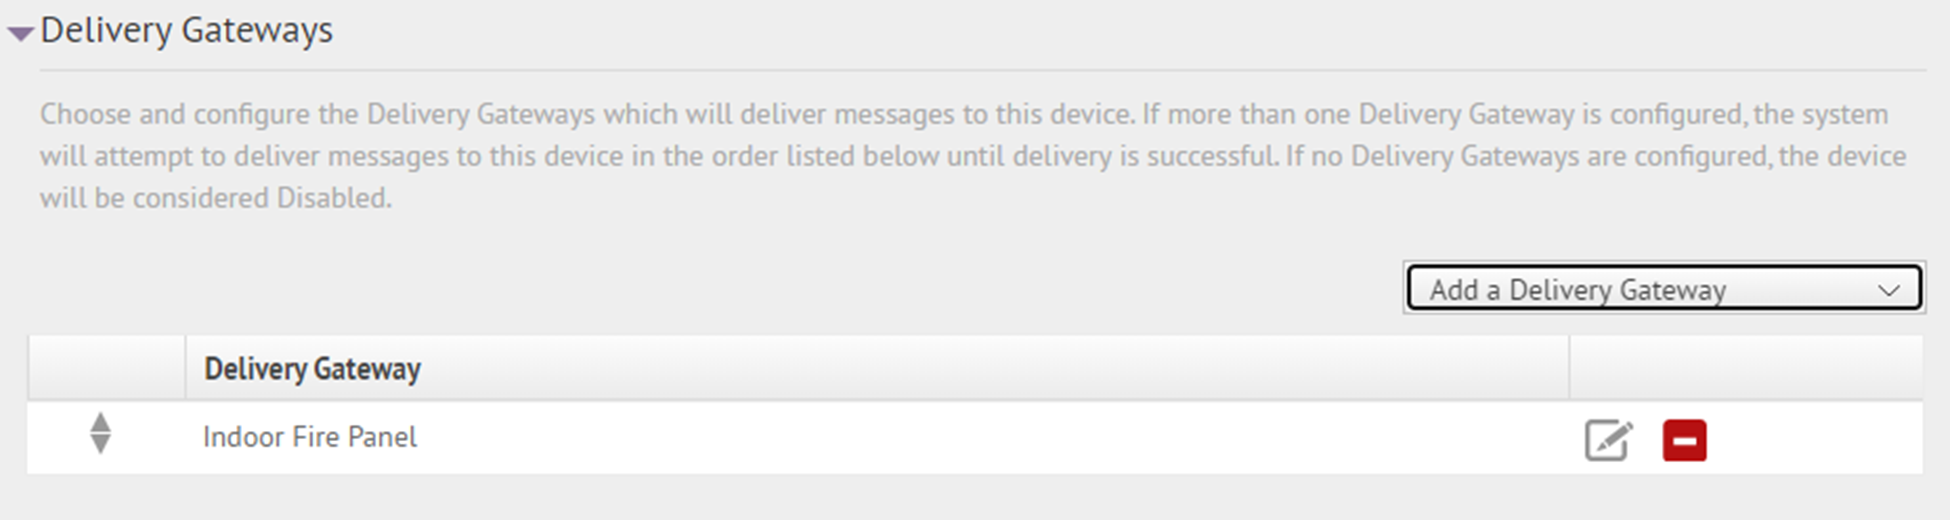
- In theDelivery Gatewayssection, clickAdd a Delivery Gateway>Indoor Fire Panel.
- In theIndoor Fire Panelrow, click
 .
. 
- On theConfigure Gatewaywindow, check for XML code in theConfiguration XMLfield. If the XML statements are not provided, copy and paste the following code into the text field:<Configuration> <CapParams> <GVSystemType>INFP</GVSystemType> <AllMode>0</AllMode> <ZoneMode>0</ZoneMode> <PoleMode>0</PoleMode> <UnusedMode>0</UnusedMode> <DefaultAllCall>0</DefaultAllCall> <DefaultKeyActivationCode>0</DefaultKeyActivationCode> <NoPARequired>0</NoPARequired> <PARequired>1</PARequired> <IsCancelable>false</IsCancelable> <ContentSource>Indoor-Fire-Panel</ContentSource> </CapParams> </Configuration>
- ClickSubmit.
- ClickSave.
- ClickMore Actions>Enable.
The status line at the top of the screen updates and indicates that the device is enabled.