Configure Windows authentication
Windows
authenticationAfter you install
NDS
, you can configure NDS
to use Windows
authentication for SQL authentication.- Create aWindowsservice account with the following access and privileges:
- Have SQL access and be the database owner of the three ngdelivery databases.
- Be able to run the athocdelivery service on theNDSserver.
- Be able to run the IIS application pools on theNDSservice (there should be two of them).
- Have full access to the c:\windows\temp folder.
- Have full access to the folders where the databases reside.
- Change the owner of the databases fromngadto theWindowsservice account:
- OpenMicrosoft SQL Server Management Studio.
- ExpandDatabases.
- For eachngdeliverydatabase, right click and selectProperties.
- ClickFilesand click the browse icon to select the username of the Windows service account.

- ClickBrowse.
- Select theWindowsservice account username.
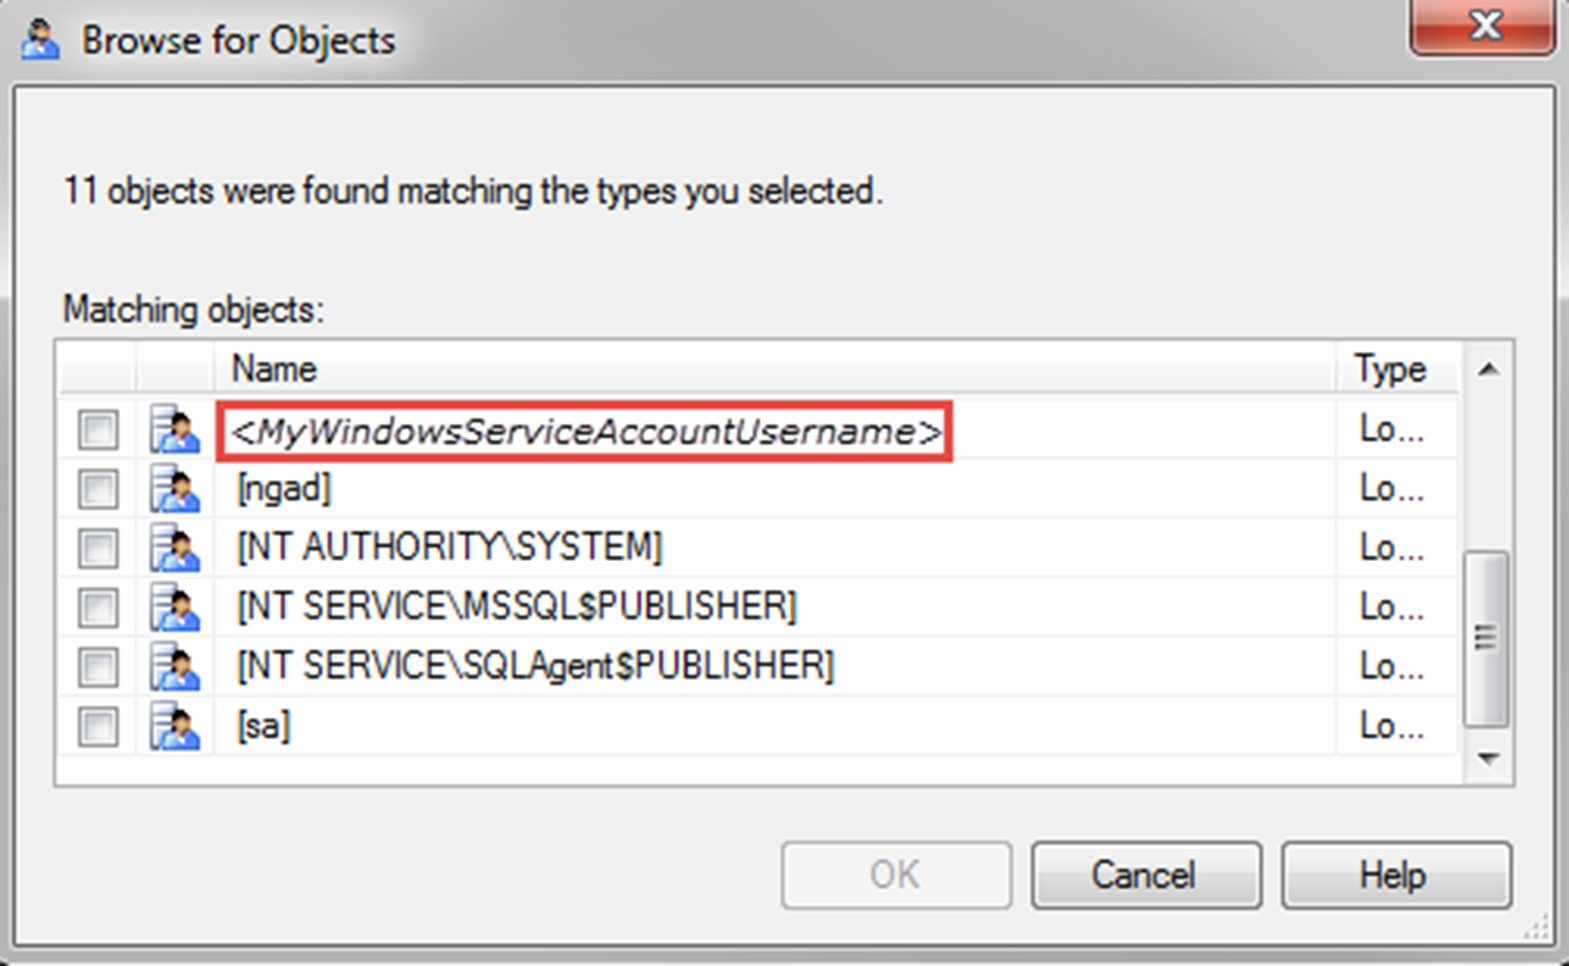
- ClickOK.
- Update the database connection string in the System Registry.
- Open the Registry:
- ClickStartand typeregedit.
- Right-click on the icon and clickRun as administrator.
- In the Registry, navigate toHKEY_LOCAL_MACHINE > SOFTWARE > Wow6432Node > AtHocServer.
- UnderAtHocServer, change the values of OleDbConnectionString.
- Delete the SQL login info: User Id=ngad; Password=<ngadpassword>:Provider=SQLOLEDB;Server=<server\instance>;Initial Catalog=ngaddata;User Id=ngad;Password=<ngadpassword>;
- Add theWindowsauthentication parameter: Integrated Security=SSPI;Provider=SQLOLEDB;Server=<server\instance>;Initial Catalog=ngaddata;Integrated Security=SSPI;
- ClickOKand exitRegedit.
- Optionally, forAtHocauthentication through Windows, modify the service login to use the domain account.
- From the database server, clickStartand open theControl Panel.
- ClickSystem and Security>Administration Tools>Services.
- Right-click onAtHocDeliveryServiceand selectProperties.
- Select theLog Ontab.The default setup is “Local System Account”.
- To modify the account information forMicrosoft SQL ServerWindowsAuthentication, selectThis Account.
- Fill in yourWindowsService Account credentials and clickOK.