Install the application server in combined mode
These steps describe how to install the
NDS
on the same application server where BlackBerry AtHoc
is already installed. Use this mode if you plan to send alerts through BlackBerry AtHoc
.The
AtHocProcessor
service no longer hosts NDS
. A new service called AtHocDeliveryServer
hosts NDS
.To install the application server, complete the following steps for each application server:
- Copy the AtHocENS folder and sub folders to the Program Files folder. See Prepare the NDS installation file.
- Navigate to the following folder:<AtHocENS>\DeliveryServer\Installations\InstalledWithIWSwhereAtHocENSis the root folder of the NDS server.
- Use one of the following methods to launch the script:
- FromWindows Explorer, right-click the script:Install_Combo.ps1and select to run as administrator with PowerShell x64 bit.
- From theWindows PowerShellcommand line, runInstall_Combo.ps1.
If you have not updated theWindows PowerShellsecurity policy, see Prepare Windows PowerShell.The installation program runs. - Fill in the values for the prompts and pressEnterto continue running the script.
- Configure the UAP Web service:
- Navigate to the following folder:[.AtHocENS]\DeliveryServer\web\AtHoc.NDS.UAP.WebService
- Delete theWeb.configfile and renameWeb.config.ssltoWeb.config.Restart IIS after renaming the files.
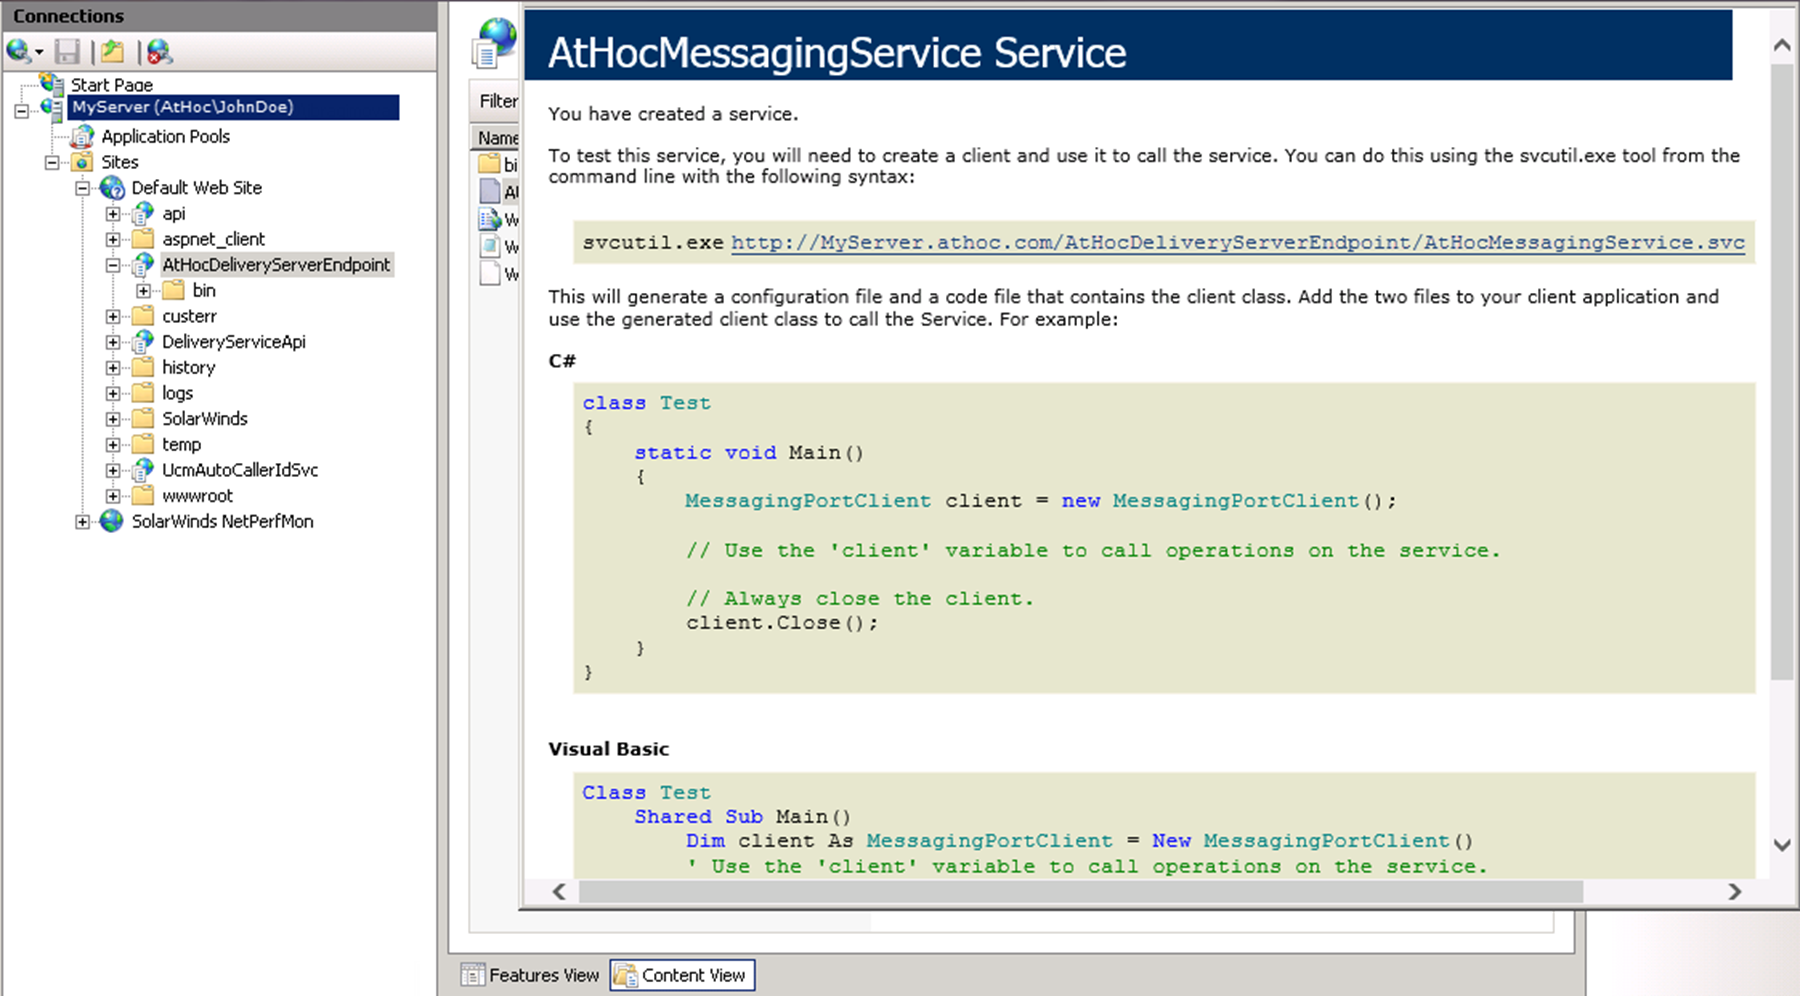
- Open a Web browser and open the following URL:https://localhost/AtHocDeliveryServerEndpoint/AtHocMessagingService.svc.A confirmation window displays a message that you have successfully created theAtHocMessagingServiceservice.
- Test the service by pasting the following link in a browser and adding the name of the server: https://[serverAddress]/AtHocDeliveryServerEndpoint/AtHocMessagingService.svcThe following screen must appear: