Enable the IPAWS devices
- In the navigation bar, click
 .
. - In theDevicessection, clickDevices.
- On theDevicespage, click theMass Devicestab.
- Click to open one of the following IPAWS specified devices:
- IPAWS CAP Exchange
- IPAWS EAS
- IPAWS NWEM
- IPAWS WEA
- IPAWS WEA 2.0
- On the device details page, clickEdit.
- Modify the values in theDetailssection, adding names and information valid for your organization.
- In theContact Info Editingfield, selectAllorEnd Users. Selecting the check box specifies whether end users must provide contact information in Self Service.
- Update the values in theDetailsandHelp Textsections.
- IPAWS CAP Exchange is used for COG to COG alerts:
- Name: IPAWS CAP Exchange
- Common Name: UAP-IPAWS
- Group: IPAWS CAP Exchange
- Device Group Order: 1
- Contact Info Editing: All
- Targeting Help Text: You are publishing to IPAWS CAP Exchange
- Public Communications: IPAWS EAS
- Name: IPAWS EAS
- Common Name: UAP-IPAWS-EAS
- Group: IPAWS NWEM and EAS
- Device Group Order: 1
- Contact Info Editing: All
- Targeting Help Text: You are publishing to IPAWS Public EAS
- Public Communications: IPAWS NWEMThis device requires a different DeviceType in the Delivery Gateway XML configuration:IPAWSNWEM.
- Name: IPAWS NWEM
- Common Name: UAP-IPAWS-NWEM
- Group: IPAWS NWEM and EAS
- Device Group Order: 1
- Contact Info Editing: All
- Targeting Help Text: You are publishing to IPAWS NWEM
- Public Communications: IPAWS WEA
- Name: IPAWS WEA
- Common Name: UAP-IPAWS-WEA
- Group: IPAWS WEA
- Device Group Order: 1
- Contact Info Editing: All
- Targeting Help Text: You are publishing to IPAWS Public WEA
- Public Communications: IPAWS WEA 2.0
- Name: IPAWS WEA 2.0
- Common Name: UAP-IPAWS-WEA2
- Group: IPAWS WEA 2.0
- Device Group Order: 1
- Contact Info Editing: All
- Targeting Help Text: You are publishing to IPAWS Public WEA
- For each device, update theDelivery Gateway XMLcontent.
- In theDelivery Gatewayssection, clickAdd a Delivery Gateway>IPAWS (West).
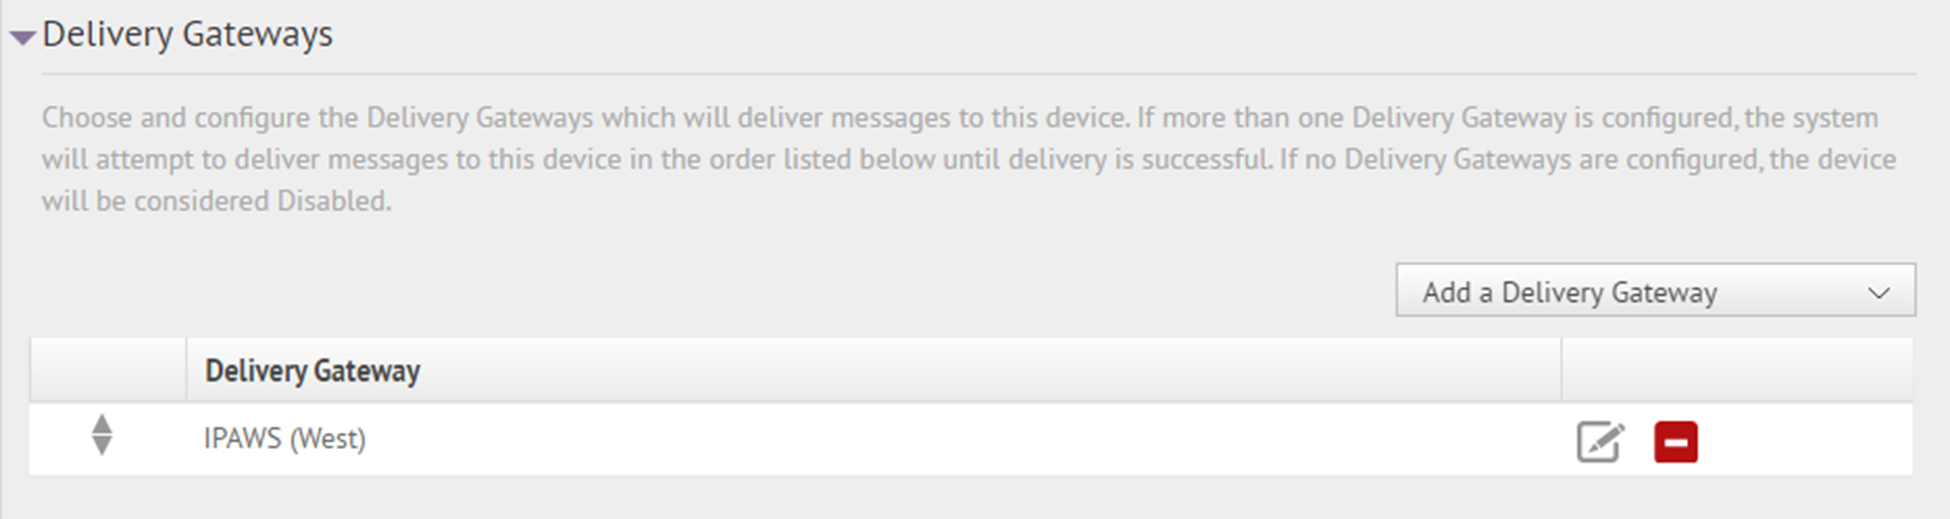
- In theDelivery Gatewayssection, clickAdd a Delivery Gateway>IPAWS (East). The IPAWS (East) gateway can be used as a failover gateway.
- In theIPAWS (West)and rowsIPAWS (East), click
 .
. - On theConfigure Gatewaywindow, view the XML. The following is the default configuration XML:<Configuration> <DeviceType>IPAWS</DeviceType> <FipsAreaCodes> <group> <name>FIPS_NAME</name> <value>AREA_DESCRIPTION|SIX_DIGIT_FIPS_CODE</value> </group> </FipsAreaCodes> </Configuration>
- Make the following updates, with only one value for each field. If you need to input additional names, repeat the <group></group> tag. Commas (,) are not allowed in values:
- DeviceType: IPAWS or IPAWSNWEM (for IPAWS NWEM only)
- name: A geographical area name, such as a county name and the FIPS code for the area. For example: “San Mateo County-006081”
- value: An area description and the six-digit FIPS code provided by FEMA. For example: “San Mateo County|006081”
For example:<Configuration> <DeviceType>IPAWS</DeviceType> <FipsAreaCodes> <group> <name>San Mateo County-006081</name> <value>San Mateo County|123456</value> </group> <group> <name>Contra Costa County</name> <value>San Mateo County|234567</value> </group> </FipsAreaCodes> </Configuration> - ClickSubmit.
- ClickSave.
- ClickMore Actions>Enableif you are ready to make the device available for alert publishing.